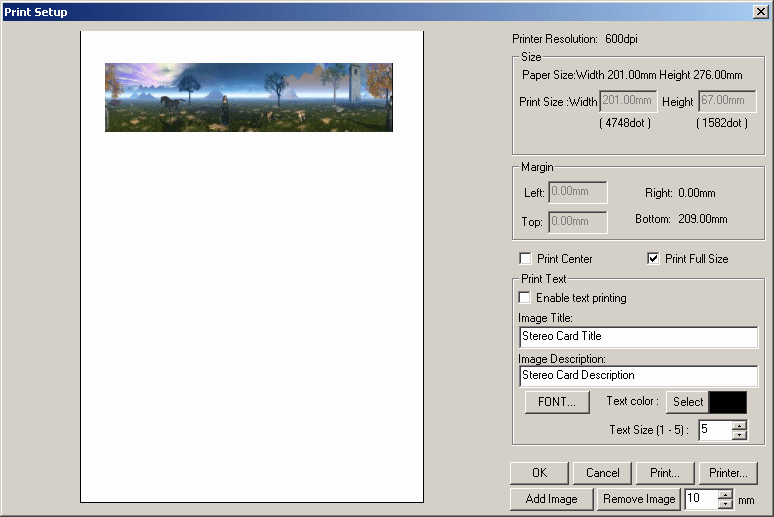
Paper-size and margins may be set and the image positioned on the page by dragging with the mouse or automatically centred .
The 'Print Full Size' option prints the image as large as possible while preserving its aspect ratio.
If the screen image is surrounded by a border, the same border-style will be applied to the printed image but with the border-widths setup for printing.
With above/below images, if 'ViewMagic' format is required simply press 'X' to swap images before choosing the print function.
This positions the right image on top.
The image may be given a title and description in a selected type, size and color of font.
The text will be positioned under the image and centered.
Printing Multiple Stereo Cards
If you wish to print multiple images on a single sheet of paper, click 'Add Image' when you are satisfied with the current 'Print Setup' values.
In the main programme, display the next image that you wish to add to the print and choose 'Print Setup' again.
You will see the previously-added image is also displayed.
You may click 'Remove Image' to delete that image.
Drag the new image into position, set any required options and again 'Add Image'.
If you wish to enforce a particular vertical spacing between images, enter the value in the 'mm' box.
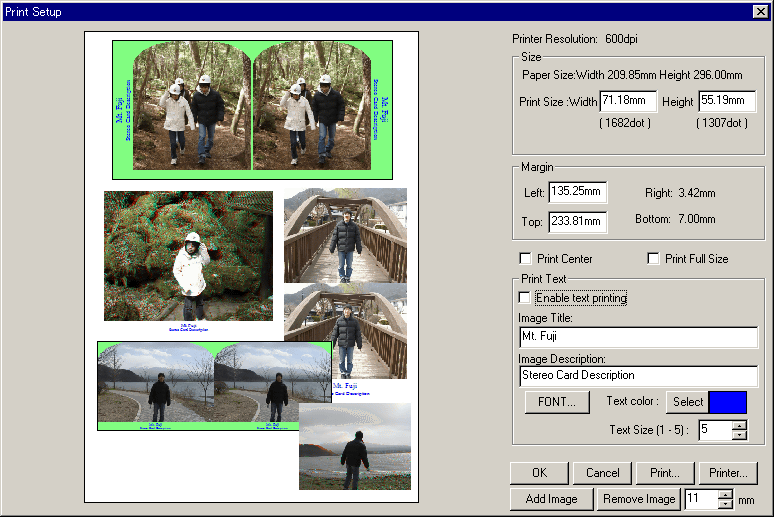
As the above screenshot shows, you may mix stereo-card images and ordinary source images such as anaglyph, side-by-side, single, etc.
Stereo-card images will have been previously-saved from 'Print Stereo card' using 'Add Image'.