Transparent composition of 3D images
The "Add Logo Image" function of StereoPhoto Maker was initially,
as the name implies, a function to place a logo image on top of the displayed
image, but with the addition of subsequent functions, it can now also be
used to combine two stereo images.
This time, i have also added a function to create a transparent PNG from
a 2D image and an image with grayscale transparency, and added alpha(constant)
and alpha(brightness) to the transparency processing in "Add Logo
Image" function.
Create a transparent PNG from a 2D image and an image with grayscale transparency
In the "Add Logo Image" function of StereoPhoto Maker, there
is a function to overlay left and right transparent PNGs on the display
image. This time, i have added a function to create these transparent PNGs.
Here is an example of how to create a transparent PNG by importing the same left and right images, making the right side grayscale, and using that grayscale as the transparency.
Of course, you can also use other image editing software to create a grayscale image to represent the transparency, and import the left side as a 2D image and the right side as a grayscale image.
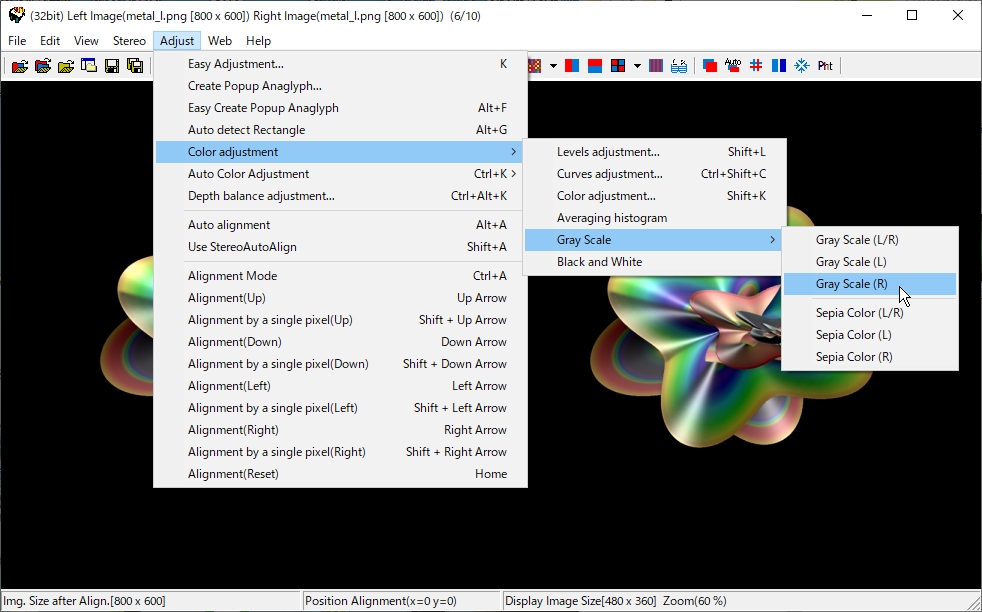
1. Load the same image on both sides, and select Menu -> Adjust ->
Color Adjustment -> Gray Scale -> Gray Scale (R) to make only the
right image grayscale.
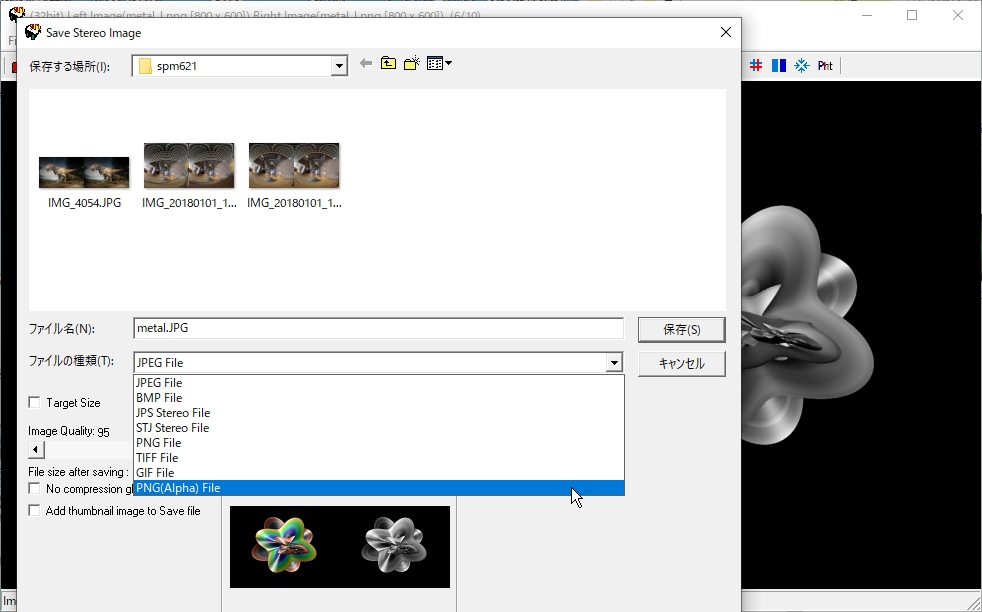
2. Select Menu -> File -> Save Stereo Image, select "PNG (Alpha)
File" as the file type, and save the file with an appropriate image
name, as shown below.
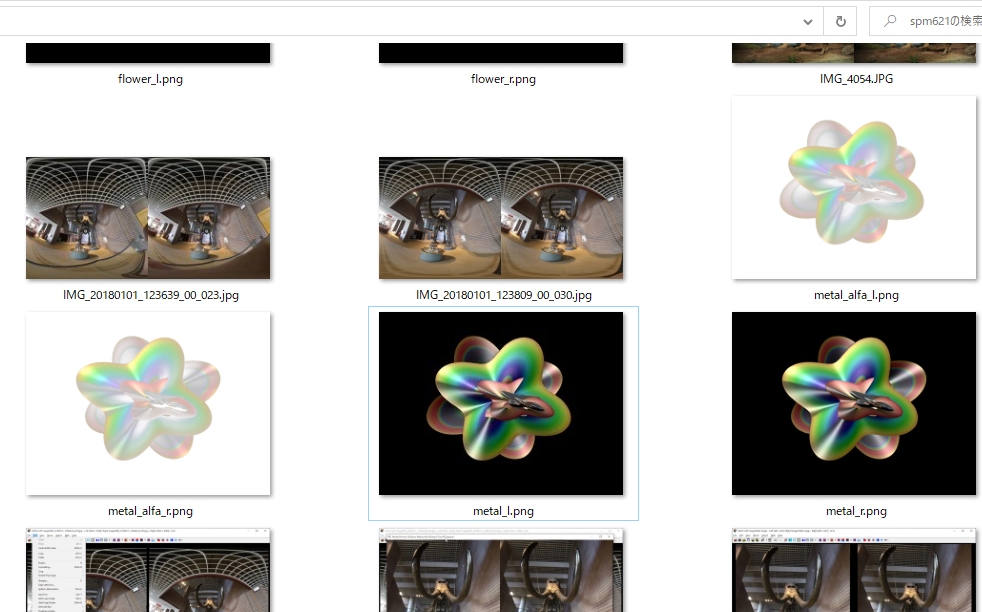
3. As shown in the figure below, "metal_alfa_l.png" will create a transparent PNG with black transparent and white opaque.
In order to use the "Add logo image" function of Stereo Photo
Maker as a stereo image, make sure that the left image is "Image name_l.png"
and the right image is "Same as left Image name_r.png". If you
specify "image_name_l.png", if "image_name_r.png" is
in the same folder, it will be used as a pair of 3D images.
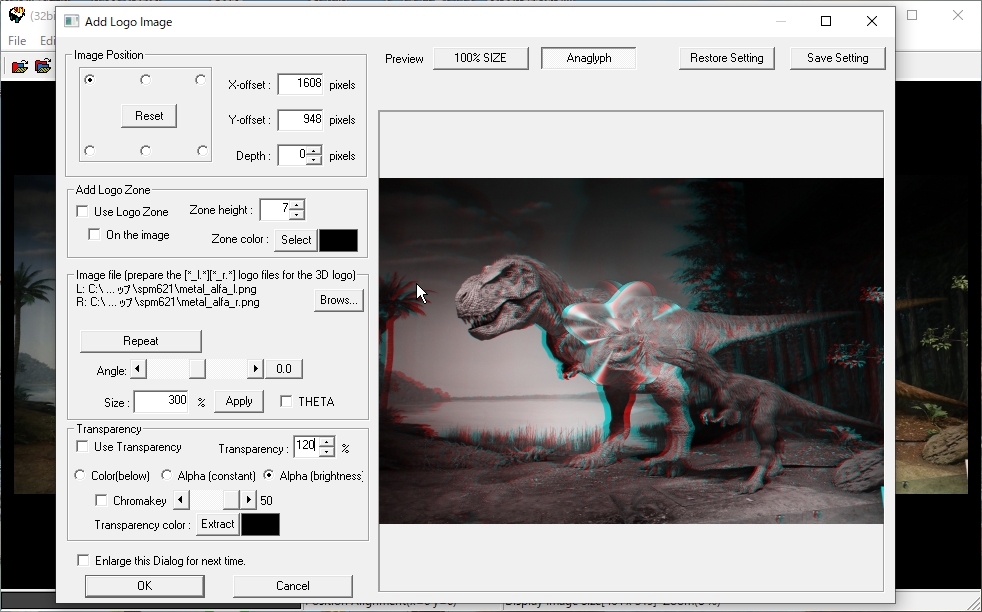
Transparent processing for "Add logo image" function
Originally, the transparency processing in the Add Logo Image section existed,
and the chroma key processing, the specified color transparency processing,
and the function to change the transparency level existed, but now i have
added alpha(constant) and alpha(brightness).
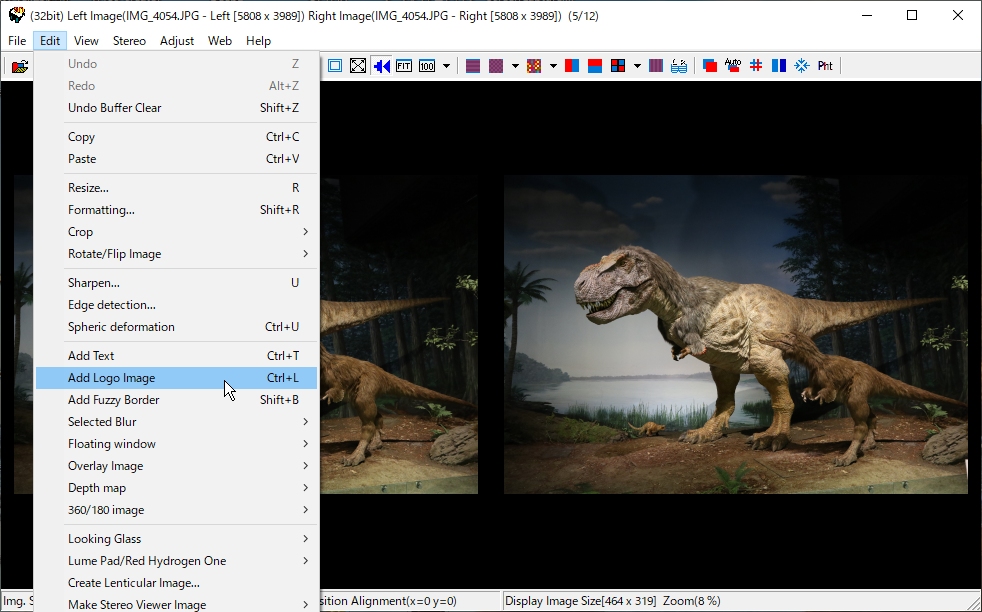
1. After loading the 3D image and performing the necessary pre-processing,
such as position adjustment, select Menu -> Edit -> Add Logo Image.
2. Click the "Browse" button to specify the image to be combined.
If you specify "Image name_l.png", "Image name_r.png"
will be used as a pair of 3D images if it is in the same folder.
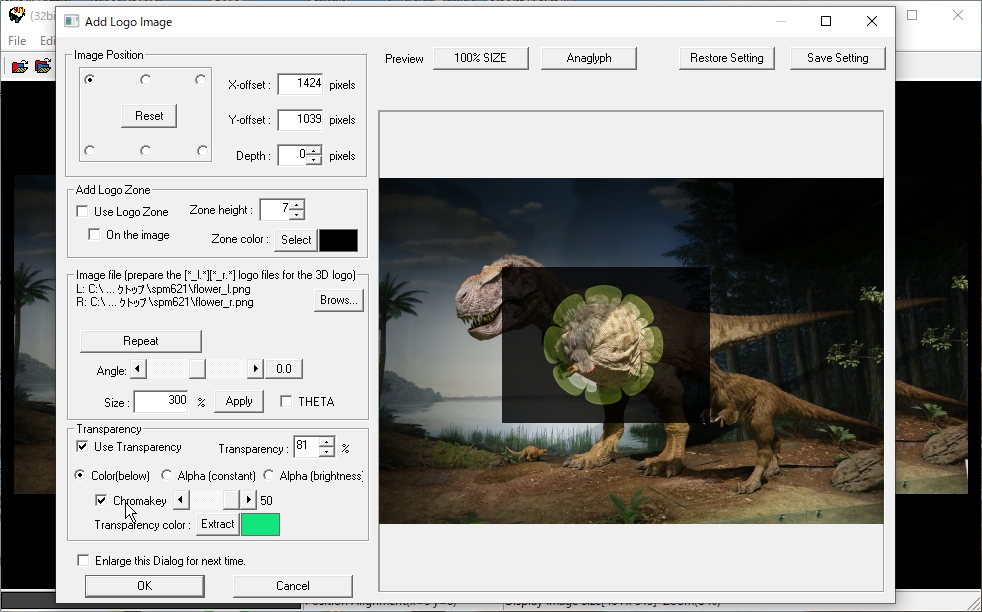
If you want to use ChromaKey, check the "Use transparency" checkbox, check the "ChromaKey" checkbox, click the Extract button, and the cursor will change to an eyedropper.
Click on the color you want to make transparent with the eyedropper.
With Slider, decide the extraction range. Furthermore, with Transparency,
you can set the transparency of the entire image to be overlaid. The transparency
can be set from 0 to 200%.
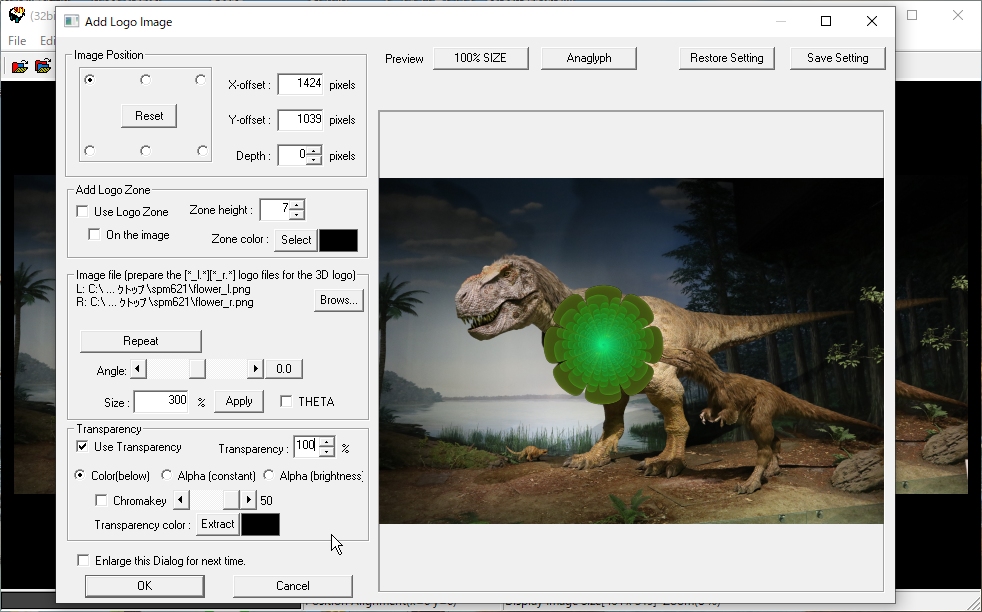
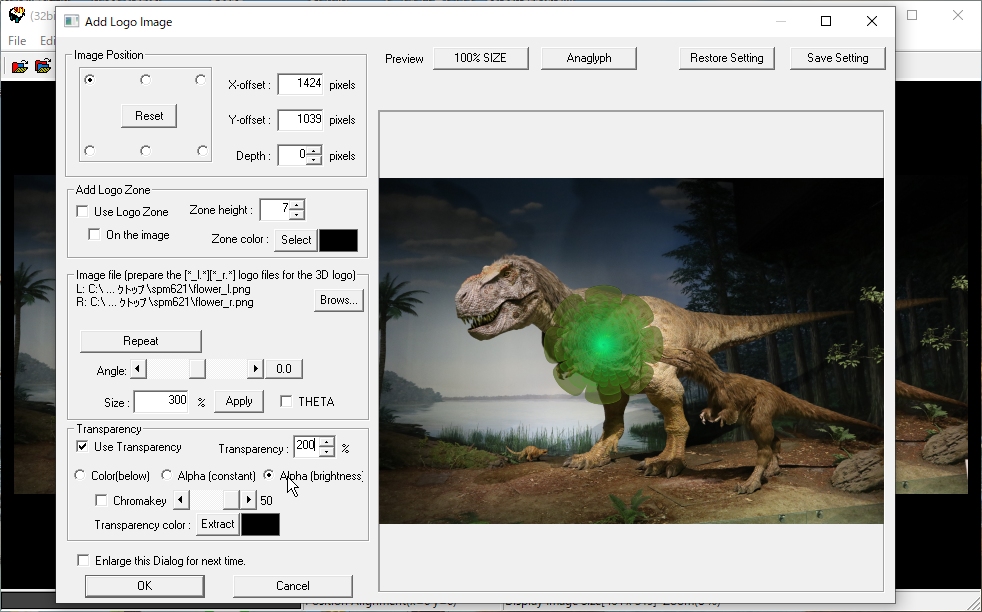
3. If you want to make the specified color transparent, click the Extract
button, and the cursor will change to an eyedropper.
Click on the color you want to make transparent with the eyedropper.
In the example below, specify black. The black around the green flower
is made transparent. You can set the transparency from 0 to 200%, but it
will not change above 100%.
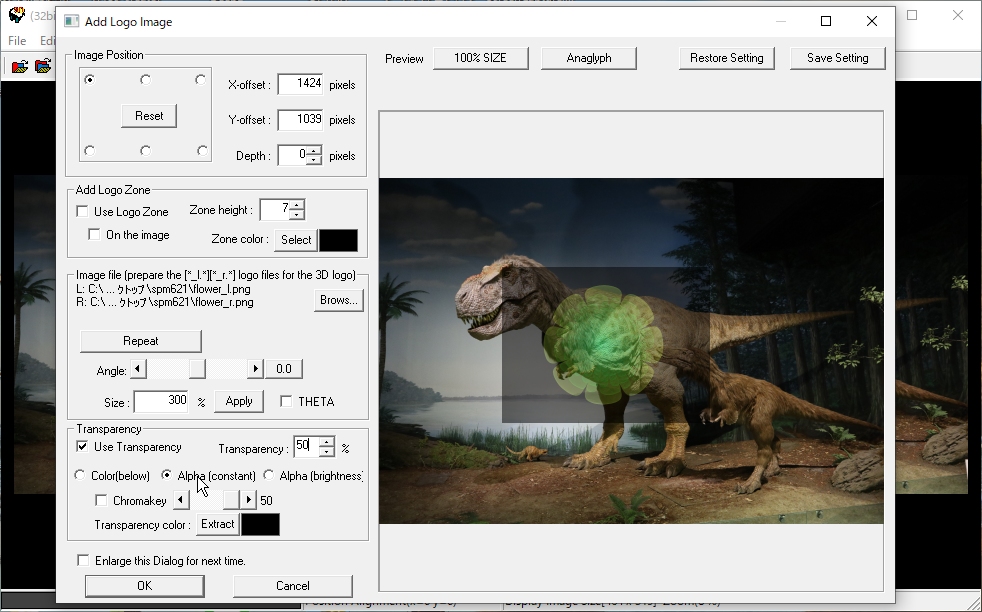
4. To apply the specified transparency to the entire image for compositing,
check the Alpha(constant) and set the transparency.
The transparency can be set from 0 to 200%, but will not change above 100%.
5. To combine the brightness value of the overlapping image as transparency, check Alpha(brightness) and set the transparency.
The transparency can be set from 0 to 200%.
6. Checking the 3D effect
Click the "Anaglyph" button to display the composite image in
anaglyph, then check the depth with the red-blue glasses and change the
"Depth" to the desired depth.
The position of the image to be overlaid can be freely changed by dragging
the mouse.

7. When overlaying transparent PNGs, the transparency information in the
PNG will be used as the basis for transparency processing and overlaying,
regardless of the transparency processing settings.
The transparency can be set from 0 to 200%. For example, setting it to
200% will double the transparency information in the PNG, making the display
more clearly visible.